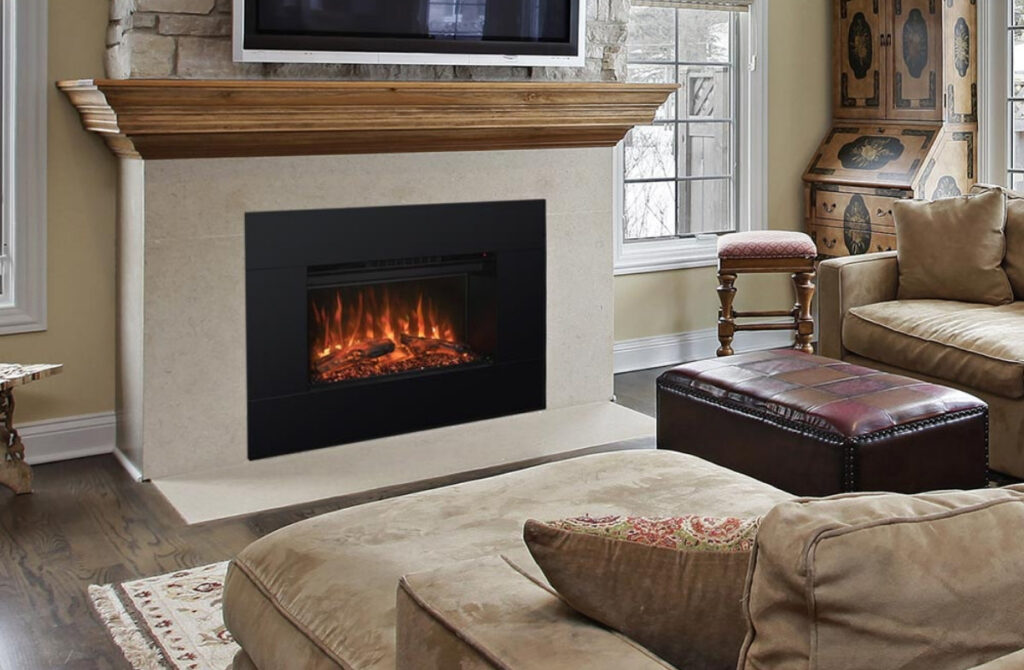
Installing a built-in electric fireplace can enhance the ambiance of your home while providing warmth and comfort. This guide will walk you through the essential steps needed to successfully install your electric fireplace, ensuring a seamless integration into your space. Let’s delve into the preparation, installation process, and final touches to create a cozy retreat.
Preparation for Installation
Before you begin the installation of your built-in electric fireplace, proper preparation is crucial. Start by selecting the perfect location that allows for sufficient ventilation and accessibility to power outlets. Consider the following:
- Room Size: Ensure that the electric fireplace suits the size of the room, both aesthetically and effectively in providing heat.
- Style Compatibility: Choose a fireplace design that complements your existing decor style.
- Power Outlet: Confirm the location of a nearby power source to avoid complications during installation.
- Framing Requirements: If you are creating a recessed space, evaluate if you need to build a framework to accommodate the fireplace.
Lastly, gather all necessary tools and materials, including a screwdriver, power drill, level, and a tape measure. This ensures that you have everything at your fingertips when it’s time to start the installation process.
Installing the Electric Fireplace
Now that you are prepared, it’s time to move forward with the installation process. Follow these steps for a successful installation:
- Marking the Position: Use your measurements to mark the area where your fireplace will be installed. Double-check your measurements to avoid any errors.
- Building the Framework: If required, assemble a frame using plywood or another sturdy material to support the fireplace. Ensure it is level and securely anchored.
- Electrical Connections: Carefully connect the electric fireplace to the power source, following the manufacturer’s instructions. If you’re unsure or uncomfortable, consider hiring a professional electrician.
- Securing the Fireplace: Once connected, place the electric fireplace in the framed opening. Use screws or brackets as directed by the installation guide to secure it in place.
- Finishing Touches: After the fireplace is mounted, finish around it with trim or decorative elements to enhance its appearance and integrate it into your home’s design.
Finally, run a test to ensure everything is functioning correctly. Enjoy the elegance and warmth of your new built-in electric fireplace!
In conclusion, installing a built-in electric fireplace is a rewarding project that can transform your living space. By taking the time to prepare adequately and follow the correct installation steps, you can create a stylish focal point that brings comfort to your home. Enjoy your new fireplace and the inviting atmosphere it creates for you and your guests.

